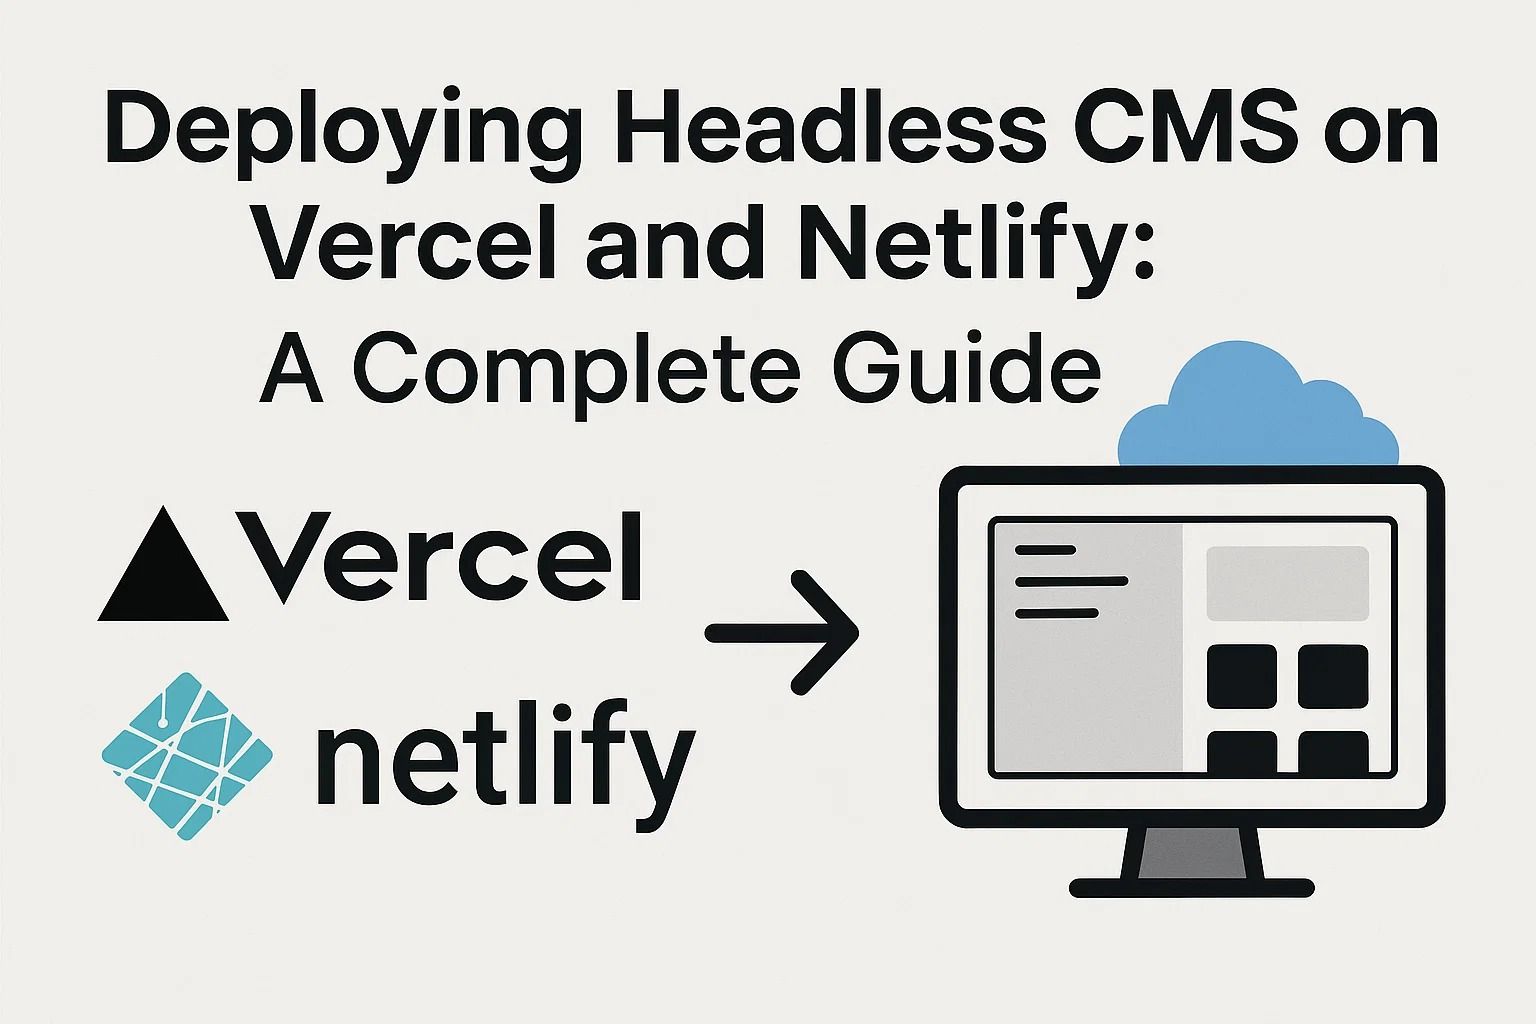
Deploying Headless CMS on Vercel and Netlify: A Complete Guide
Deploying a Headless CMS on Vercel or Netlify: A Complete Developer Guide
In modern web development, Headless CMS solutions like Strapi, Sanity, or Contentful have become the backbone of dynamic, API-driven websites. They allow developers to manage content independently from the front-end, offering more flexibility and scalability.
But a headless CMS is only as powerful as its deployment environment. Platforms like Vercel and Netlify are built to host fast, secure, and serverless front-ends — the perfect partners for a headless setup.
In this guide, we’ll explore how to deploy a Headless CMS using Vercel or Netlify — from setting up APIs and environment variables to connecting your front-end and ensuring continuous delivery. Whether you’re building a blog, portfolio, or a full-scale enterprise dashboard, this tutorial will help you move from local development to a live, production-grade environment.
Note: Before you start, make sure you have a working CMS (like Strapi or Sanity) running locally and a GitHub repository linked to your project.
Understanding the Architecture
The core advantage of a headless CMS is its decoupled structure. Unlike traditional systems like WordPress, your CMS only handles content — while your front-end (usually built with Next.js, Nuxt.js, or Gatsby) fetches it through APIs.
Headless CMS Responsibilities
- Manage content models and entries
- Provide REST or GraphQL endpoints
- Handle user roles and authentication
Front-End Responsibilities
- Render content dynamically using APIs
- Handle routing and UI logic
- Manage caching and performance optimization
Step 1: Preparing Your Project for Deployment
Before pushing to the cloud, ensure your CMS and front-end are connected properly. For example, if you’re using Strapi and Next.js, verify that the API endpoints and environment variables are set up in a .env file.
# Example .env file
NEXT_PUBLIC_API_URL=https://your-cms.vercel.app
STRAPI_TOKEN=your-api-token
Make sure your Git repository includes all necessary configuration files like vercel.json or netlify.toml. These define your build settings and environment variables.
Tip: Never commit your private API keys or tokens. Use environment variables on Vercel or Netlify dashboards instead.
Step 2: Deploying to Vercel
Vercel is often the first choice for developers using Next.js or React-based frameworks, thanks to its seamless Git integration and serverless architecture. Here’s how to deploy:
- Push your project to a GitHub, GitLab, or Bitbucket repository.
- Go to Vercel and import your repository.
- Set your environment variables under “Settings → Environment Variables.”
- Click Deploy. Vercel will automatically build and host your project.
Common Vercel Issues
- Build timeout: Optimize large dependencies or increase build memory.
- API CORS errors: Configure allowed origins in your CMS settings.
- 404 errors: Check your
next.config.jsor routes configuration.
Vercel also provides built-in preview deployments for every branch or pull request — making it easy to test new features before merging them into production.
Pro Tip: Enable Vercel Analytics to monitor performance, Core Web Vitals, and cache efficiency directly from your dashboard.
Step 3: Deploying to Netlify
While Vercel is ideal for React and Next.js, Netlify excels with frameworks like Gatsby, Astro, and SvelteKit. It provides an intuitive UI, free HTTPS, and instant rollbacks.
- Sign up at Netlify and connect your Git repository.
- In “Build Settings,” specify the command and output directory (e.g.,
npm run buildandout/). - Add environment variables for your CMS (e.g., API URL, tokens).
- Click Deploy Site and watch your build go live.
Rollback Option: One of Netlify’s best features is the ability to instantly roll back to a previous deployment with one click — no terminal commands needed.
For more on hosting and deployment strategies, check out our related article on Best WordPress Hosting Providers.
In the next section, we’ll look at advanced configuration: optimizing build times, handling webhooks, and integrating CI/CD workflows for automated deployments.
Optimizing and Automating Your Headless CMS Deployment
Once your headless CMS and front-end are live on Vercel or Netlify, the next step is to automate workflows and improve performance. A successful deployment isn’t just about going live—it’s about ensuring continuous integration, fast load times, and minimal downtime for both developers and users.
Integrating Continuous Deployment (CI/CD)
Both Vercel and Netlify support Continuous Integration and Deployment (CI/CD) by default. Each time you push changes to your Git repository, a new build is triggered automatically. This ensures that your live site always reflects the latest updates without manual redeployment.
- Connect your repository: Make sure the GitHub or GitLab repository is linked to your hosting provider.
- Set build triggers: Define which branches (e.g.,
mainorstaging) should auto-deploy when updated. - Use preview deployments: Review new features before merging them into production.
Pro Tip: On Netlify, you can configure build hooks to trigger deployments from your CMS whenever content is published. This is ideal for editorial workflows where non-developers handle updates.
Setting Up Webhooks for Real-Time Content Updates
Headless CMS platforms like Strapi, Sanity, and Contentful support webhooks—automated signals that notify your hosting platform whenever content changes. This eliminates the need for manual redeployment and keeps your website content in sync.
Example: When a content editor updates a blog post in Strapi, the CMS sends a webhook to Netlify, which triggers a rebuild of your front-end.
To configure this:
- In your CMS dashboard, create a new webhook and point it to your Vercel or Netlify build URL.
- Choose the events that trigger it (e.g., “Publish” or “Update Entry”).
- Save the webhook, then test it by updating an entry.
Note: Too many webhook triggers can cause unnecessary builds. Use selective events to balance automation with performance.
Improving Performance with CDN and Caching
Both hosting platforms use Content Delivery Networks (CDNs) to distribute content globally. But performance optimization goes beyond caching static files — it also includes API responses, images, and fonts.
Vercel Optimization Features
- Automatic image optimization via
next/image - Edge caching for API responses
- Serverless edge functions for dynamic content
Netlify Optimization Features
- Netlify Edge for global routing
- Instant Cache Invalidation after new deploys
- Built-in image compression and HTTP/3 support
Managing Environment Variables Securely
When deploying a headless CMS, your project often relies on API keys, tokens, and secret URLs. Both Vercel and Netlify offer secure dashboards to manage environment variables.
Here’s how to do it safely:
- Store sensitive credentials only in the hosting platform’s dashboard, never in code.
- Prefix public variables with
NEXT_PUBLIC_(for Next.js). - Use staging and production environments separately to avoid conflicts.
Example: You can set NEXT_PUBLIC_CMS_URL for your API endpoint and a private CMS_TOKEN for secure access to content updates.
Handling Build Errors and Debugging
Occasionally, you may face build failures due to missing dependencies, misconfigured routes, or failed API connections. Both Vercel and Netlify provide detailed build logs that help track down the root cause.
Common Debugging Tips
- Use
vercel logsor the Netlify CLI for live debugging. - Double-check your
package.jsonfor missing build scripts. - Ensure your CMS API URL is reachable in production.
Debugging can be time-consuming, but once you streamline the process, deployments become effortless. A properly configured CI/CD pipeline minimizes manual intervention and ensures your CMS-driven website remains fast and reliable.
Next, we’ll explore advanced deployment setups — including scaling headless architectures, integrating analytics, and ensuring uptime monitoring for enterprise-grade reliability.
To learn more about hosting strategies for CMS platforms, read our related article on Shared Hosting Explained: Pros, Cons, and When It’s the Wrong Choice.
Optimizing and Maintaining Your Headless CMS Deployment
Once your Headless CMS is live on Vercel or Netlify, the next phase is ensuring that it performs efficiently, remains secure, and can scale effortlessly. Both platforms are built for high-performance JAMstack applications, but fine-tuning your setup can take it from good to exceptional.
1. Performance Optimization
- Leverage CDN caching: Ensure static assets and generated pages are cached globally through Vercel’s Edge Network or Netlify’s CDN.
- Incremental static regeneration: If your CMS supports it, enable automatic regeneration of content pages when data updates.
- Optimize images: Use lazy loading and modern formats (like WebP) for improved load times.
Both platforms provide built-in analytics and monitoring tools — Vercel Analytics and Netlify Insights — to help you track site performance and uptime effortlessly.
2. Enhancing Security and Stability
Security is essential in decoupled architectures. While your frontend may be static, your APIs and CMS endpoints still need protection. Here’s what to keep in mind:
- Use environment variables to store API keys securely.
- Enable role-based access control (RBAC) in your CMS for better user management.
- Protect webhooks with secret tokens to verify authenticity.
Additionally, configure your build process to handle unexpected errors gracefully. Both platforms support fallback pages and custom error handling via configuration files.
3. Scaling Your Project
As your content grows, you might need to handle higher traffic or integrate new data sources. Here are key strategies:
- Serverless functions: Extend capabilities without managing backend servers — perfect for small APIs, form handlers, or custom integrations.
- Edge Functions: Use for real-time personalization and authentication at the edge.
- CDN-level caching rules: Fine-tune your caching behavior to balance freshness and speed.
For more about improving workflow efficiency and deployment pipelines, read our related article Tools to Streamline Your Workflow and Increase Business Productivity .
4. SEO and Content Delivery
Deploying with a Headless CMS doesn’t mean sacrificing SEO. Use server-side rendering (SSR) or incremental static regeneration (ISR) for dynamic content. Tools like Next.js and Astro can handle this seamlessly on Vercel or Netlify.
- Add meta tags and Open Graph data dynamically for each route.
- Integrate structured data (JSON-LD) for better SERP visibility.
- Monitor index coverage via Google Search Console.
With these practices, your Headless CMS setup can remain fast, secure, and SEO-optimized — ready for modern web scalability.
For a deeper dive into how agentic AI and automation shape workflows, read Generative AI Agents: Transforming Workflows with Autonomous Assistants .


