Step-by-Step Guide: How to Install WordPress on Any Hosting in 2025
WordPress Remains the No. 1 CMS in 2025
WordPress still powers more than 40% of all websites in 2025, ranging from personal blogs to complex eCommerce stores. Its flexibility, plugin ecosystem, and huge community make it the go-to platform for anyone starting a website—and the installation routine is easier than ever.
Whether you’re working on shared hosting, VPS, cloud platforms, or cPanel in a custom environment, installing WordPress just takes a few steps. This guide will walk you through the process of preparing the server, uploading WordPress, creating the database, and running the installer.
Pick the Right Type of Hosting
First, before we begin the installation process, it matters which kind of hosting you’re using. Each type brings with it different implications for speed, security, and control:
- Shared Hosting: Cheap and beginner-friendly. It’s not very resourceful, though.
- VPS Hosting: More control and performance. This is a good choice for growing WordPress websites.
- Cloud Hosting: Highly scalable with excellent reliability (examples: DigitalOcean, AWS Lightsail, Vultr).
- Managed WordPress Hosting: Comes with WordPress already installed and configured for high performance (examples: Kinsta, WP Engine).
For this tutorial, I’m going to assume you’re using a basic shared hosting or VPS environment without WordPress pre-installed.
Step One: Registering Your Domain and Connecting It to Your Hosting
First, make sure the domain you’re using is registered, and it’s pointing to your hosting provider. Here are the steps involved:
- Buying a domain name from registrars like Namecheap, GoDaddy, or Cloudflare
- Changing the domain nameservers to point to your hosting provider
- Waiting for DNS propagation. It usually takes 15 minutes to a few hours until your website’s accessible
After your domain properly resolves to your hosting provider, you can now log in to your hosting panel and start the installation process.
Step Two: Accessing Your Hosting Control Panel
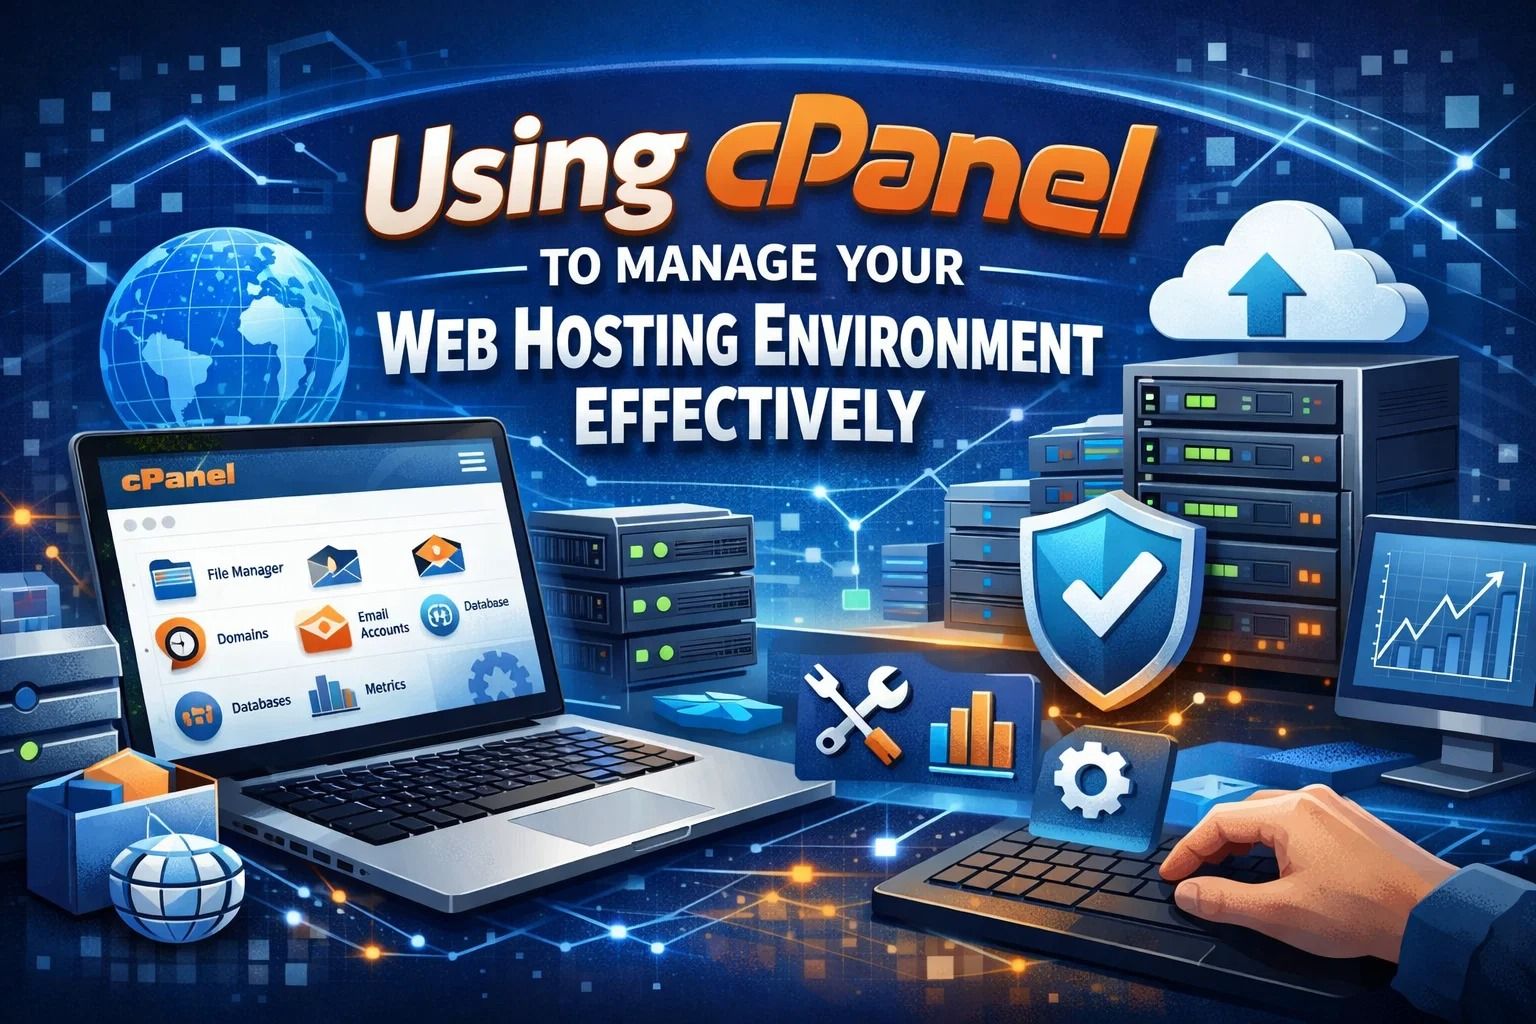
Most hosting providers come with control panels like cPanel, DirectAdmin, or Plesk. Once you’re logged in, look for the following important tools:
- File Manager — to upload WordPress files
- MySQL Database Wizard — to create the database along with the user
- Softaculous App Installer — one-click option to install WordPress (if available)
If your hosting has Softaculous or something similar already installed, you want to skip to the one-click install part. Otherwise, I’ll show you how to install WordPress manually in the rest of this article.
Step 3: Download & Install WordPress
If your hosting service does not already provide one-click WordPress installation, you will need to upload the WordPress core files yourself. Follow these instructions to set everything up.
- Visit wordpress.org/download and download the latest .zip file.
- Log in to your hosting account and open File Manager.
- Navigate to
public_htmlor the root directory. - Upload the .zip archive and unzip it. wordpress folder to the root directory.
- Delete the .zip file and empty folder to keep your file directory nice and tidy.
Alternatively, you can simply upload the WordPress files using an FTP client like FileZilla.
Step 4: Make a MySQL Database
WordPress requires a database in which to store your posts, users, settings, and other data. To create a database, follow these steps:
- Find and click on MySQL® Database Wizard or MySQL Databases in your hosting account.
- Create a new database (e.g.,
wp_mywebsite.) - Create a new database user and assign a strong password to it.
- Assign the new user to the database. Be sure to grant it ALL PRIVILEGES.
- Write down your to the above, including your database name, username, and password - you will need them later.
Step 5: Set Up wp-config.php
Now you'll need to connect the WordPress files to your new database. Here are some ways to do that:
- In your root directory, find the file named
wp-config-sample.php. - Rename it to
wp-config.php. - Edit the file. You can use your file manager's built-in editor or an external code editor.
- Find and replace the following text placeholders:
database_name_here→ your database name.username_here→ your MySQL username.password_here→ your MySQL password.
For even more security, go to WordPress.org's salt generator and generate unique keys and salts to paste in your config file.
After saving your config, you're ready to run the installation script - we will go over that in Part 3.
Step 6: Start the WordPress Setup Wizard
Now that everything is uploaded and ready, go to your site in any browser (like https://yourdomain.com).
If everything is set, the WordPress installation tool will instantly appear, showing you the setup wizard.
Select your language, click Continue, and fill out these fields:
- Site Title: Name of your site (can be changed later)
- Username: Your admin username (don't use "admin")
- Password: A strong password that is hard to guess
- Email Address: For admin notifications and password reset
- Search Engine Visibility: Optionally hide your site from search engines while developing
Press Install WordPress, and in a few seconds, you’ll see a message that your installation is complete, along with a login link.
Step 7: Login and Secure Your Site
Login to your new WordPress dashboard at https://yourdomain.com/wp-admin with the username and password you’ve just created.
Before you dive into installing themes/plugins, here are some important things to do:
- Turn HTTPS on using your host’s SSL tool or Let’s Encrypt (free)
- Change the permalink structure from default to
/post-name/(better for SEO) - Get a basic security plugin (example: Wordfence or Sucuri Security)
- Install an automated backup plugin like UpdraftPlus or Jetpack Backup
- Delete any default content (example: hello world post and sample page)
Optional: One-Click Installation
If your host gives you one-click installation like Softaculous (shown in the first image), it’s even easier:
- Open Softaculous (or your host’s version) in your cPanel
- Find and click on the icon next to WordPress (might also say google apps)
- Select your domain, set admin username/password, and click Install
This way, the system automatically uploads the files, creates the database, and goes through the startup process — that’s perfect for total beginners!
Final Thoughts
Setting up WordPress in 2025 is easier than ever, even for non-technical people. Whether you install it manually or use the one-click installer, you’ll understand each step, which helps you feel comfortable managing your site in the future. Once your WordPress site is up, you should focus on these:
- Choose a theme you love
- Optimize your site speed and performance
- Make a strategy for your blog posts and think about ideas to post regularly
With the right themes/plugins and information, you can create anything with WordPress — from a simple portfolio/photography blog to a robust and complex online shop.


