How to Set Up a WordPress Website in 2025 (Without Coding)
Why WordPress is Still the Best in 2025
Beginner Friendly WordPress still reigns as the best CMS in 2025 and for one simple reason: it lets those who do not develop build fine, compelling, responsive pages with zero knowledge of coding. Powered by savvy updates, an extensive array of themes and plugins, and buzzing support from the community, WordPress is still unmatched in flexibility and ease of use.
What You'll Need to Get Started
- A domain name (like yourwebsite.com)
- Reliable hosting (shared or VPS)
- Access to a hosting control panel (like cPanel or Plesk)
- 15 - 30 minutes of your time
We recommend choosing a cheap hosting plan that has WordPress auto-installers like Softaculous, which is available free for most of the modern providers.
Finding the Right Hosting Provider
Before you can get started with WordPress, you need to set up hosting that supports PHP and MySQL. Almost all of the modern hosting options do, but the performance and reliability depend a lot on the provider.
| Type of Hosting | Recommended For | Monthly Cost |
|---|---|---|
| Shared | New bloggers, portfolios | From $1.99 |
| VPS | Growing sites, small business | From $4.99 |
| Managed WP | No-fuss experience | $10+ |
Tip Look for providers that have 1-click WordPress installer tools and free SSL. These can help simplify the setup and improve security right from the start.
Registering a Domain
You can register a domain name through your hosting provider directly or other third-party registrars like Namecheap or GoDaddy. Most of the hosts also include a free domain with an annual plan, but it’s worth looking for info on what they charge for renewal.
A unique, brandable domain name boosts trust and helps with SEO.
Once you've activated your hosting and domain, you're all set to install WordPress. We'll show you how in the next section.
Are you interested in learning the difference between shared and VPS first? Read our full breakdown: What Is VPS Hosting and Why You Might Want It.
Setting Up WordPress: A Visual Guide from Start to Finish
No Coding Involved By 2025, virtually every web host has one-click installers like Softaculous, Installatron, or proprietary solutions to install WordPress. Here's how to have it ready within 5 minutes:
Short Install Steps
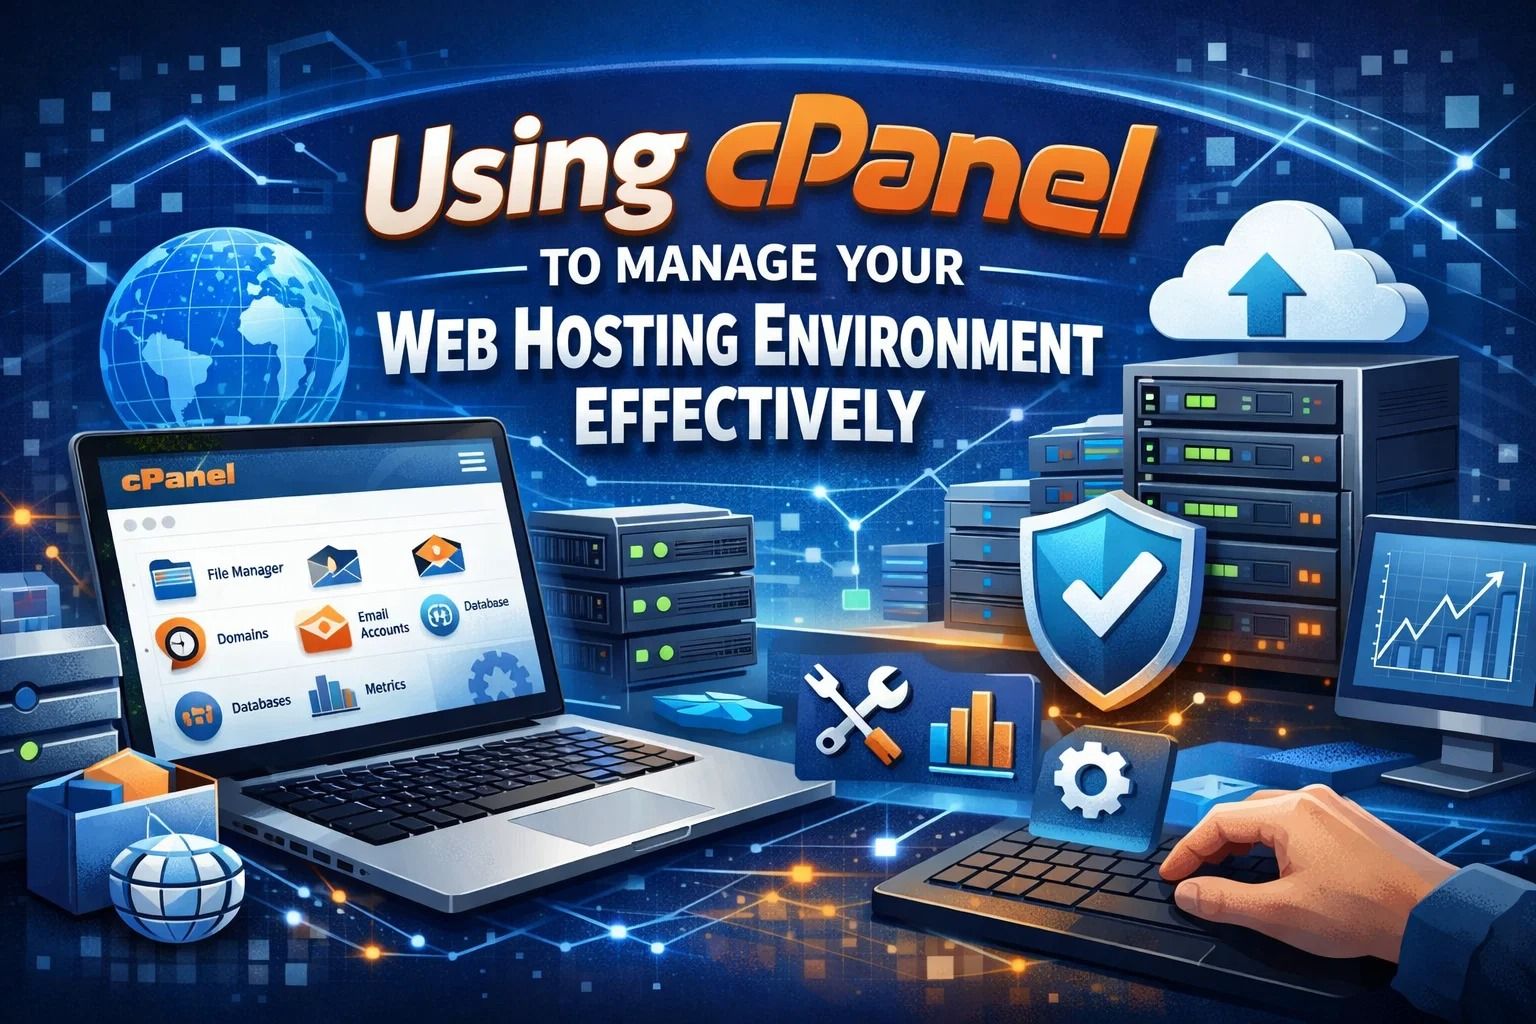
- Access your web host's control panel (cPanel, Plesk, etc.).
- Locate the WordPress installer under "Softaculous" or "Apps".
- Hit "Install", select your domain, and answer a few initial questions.
- Set the username and password to access your admin area.
- Click "Install" again, and you are done!
Note: Consider using strong passwords and changing the default location for logging in via a plugin like WPS Hide Login to prevent brute-force attacks.
Install WordPress by Hand (If You Prefer)
If you want to install WordPress without any automations, download WordPress from wordpress.org, upload it to your server via FTP, and follow the instructions by reaching yourwebsite.com in the browser. Installing WordPress this way is easy but slow, and new webmasters probably won't need to worry this much about it anymore—just doing the install automatically is much easier nowadays!
Settings to Change upon WordPress Install
As soon as you've installed WordPress, log in to your admin area at yourwebsite.com/wp-admin. Here are a few suggestions for settings to change first:
- Permalinks: Go to Settings → Permalinks and select which structure you'd like to use.
- Timezone: Set this to your local timezone (Settings → General).
- Site title and slogan: Be clear on the concept of your website.
After completing these steps, you will be ready for themes and plugins, which we will introduce in the last section.
Do you want to know which tools every freelancer must have to run their website business? Visit: Essential Tools Every Freelancer Needs for Success.
Tailoring Your WordPress Site: Themes, Plugins & Key Modifications
Your WordPress site is up and running! Now it’s time to personalize it for your needs. No coding required — drag-and-drop tools and visual builders allow you to set up and customize everything on your site with ease.
Step 1: Select a Theme That Suits Your Vision
Start with Appearance → Themes in your dashboard. WordPress comes with thousands of free themes, but check these marketplace gems:
Theme Tips
- Responsive theme that looks great on any device.
- Speed-optimized and lightweight themes like Astra or Neve.
- Preview before you activate it — “Live Preview” button is your friend.
Step 2: Add Essential Plugins
Plugins increase functionality. Go to Plugins → Add New and search for these essentials:
| Plugin | What It Does |
|---|---|
| Yoast SEO | Optimizes your site’s content for SEO. |
| WPForms | Creates contact forms with ease. |
| Elementor | Drag-and-drop page builder to create layouts in style. |
| UpdraftPlus | Automatically backs up your site to the cloud. |
| LiteSpeed Cache | Boosts speed and performance with caching. |
Note: Don’t overdo the plugins. Too many can slow your site and create conflicts.
Step 3: Build Pages with a Visual Builder
Want the full design Clout? Install a builder like Elementor or Beaver Builder. The cool features enable you to:
- Design stylish landing pages using drag-and-drop blocks.
- Insert sections using templates like About, Contact, and Services.
- Enrich your content with animations, forms, sliders, and more, all from the visual dashboard.
Now you can set up your homepage and inner pages, create blog posts, and control menus from the Appearance → Menus tab.
Step 4: Secure and Launch It
Before going public, do these:
- Add SSL: Usually free with hosting these days.
- Install Google Analytics: Use MonsterInsights or a plugin to track your visitors.
- Make a Privacy Policy and Terms Page: Essential if you collect data.
The Last Checklist Before Launch
- Check your site on mobile and desktop.
- Send yourself test emails using the forms.
- Test performance with Google PageSpeed Insights.
Once you’ve crossed everything off, start posting content and promote your site on social media and newsletters. 🚀
Trying to figure out what type of hosting you need before paying for it? Don’t miss this: What Is VPS Hosting and Why You Might Need It.


